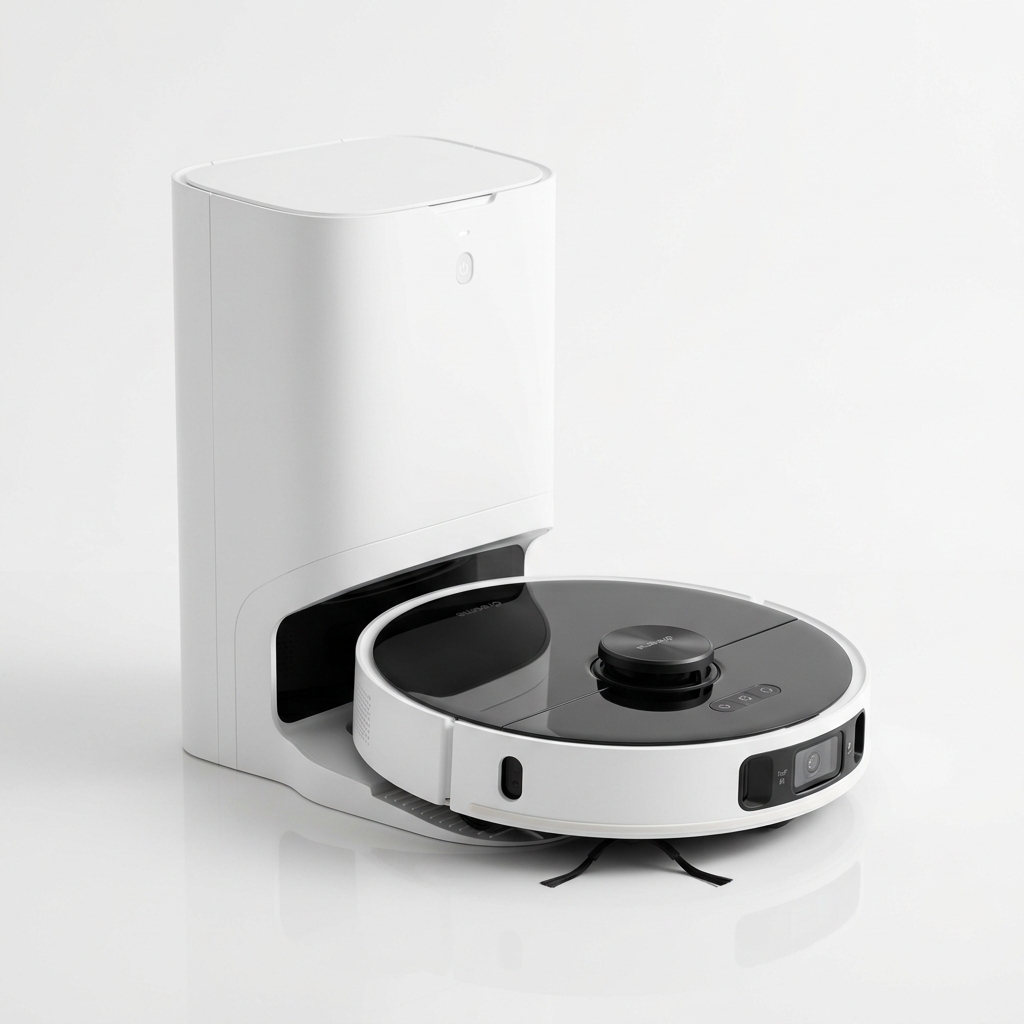
Dreame
★ 4.6
Dreame D10 Plus Gen 2
Best Value Robot Vacuum with 6000Pa Suction
₹27,999
90-Day Self-Emptying (4L Bag)
6000Pa Vormax Suction
LiDAR Navigation
Solutions for robot vacuum issues: navigation errors, suction loss, battery problems, Wi-Fi disconnects, brush tangling. DIY fixes and support.
Robot vacuums are convenient, but like any household appliance, they occasionally run into issues. If your robot vacuum is stuck, losing suction, or refusing to connect to Wi-Fi, you do not always need to call customer support or buy a replacement. Many common problems have straightforward fixes that you can handle at home with minimal tools or expense.
This guide covers the most frequent robot vacuum problems reported by Indian users and provides step-by-step solutions for each. We also explain when a problem is serious enough to require professional servicing or replacement. Understanding these issues beforehand also helps set realistic expectations — no robot vacuum is entirely maintenance-free, and knowing what to expect reduces frustration.
The problems we address range from navigation and suction issues to battery degradation, connectivity failures, and physical damage. Each section includes troubleshooting steps arranged from simplest to most involved, so you can work through them systematically.
This is the most common complaint among robot vacuum users. If your robot vacuum gets stuck under furniture, on cables, or on thresholds, the issue is usually environmental rather than a hardware defect.
Check floor clutter first. Cables, chargers, clothing, and small objects on the floor are the leading cause of stuck robots. Before each cleaning cycle, spend 1–2 minutes picking up loose items from the floor. If this is impractical, consider using no-go zones or virtual barriers in the app to keep the robot away from cluttered areas.
Measure furniture clearance. Most robot vacuums need at least 9 cm of vertical clearance. If your sofa or bed is lower, the robot will wedge itself underneath and get stuck. Measure clearance and create a no-go zone in the app for low furniture.
Evaluate thresholds. If you have raised thresholds between rooms (common in Indian homes), check your robot’s specified obstacle clearance. Most mid-range models handle 1.5–2 cm. Thresholds higher than this need a small ramp or physical modification.
Clean the sensors. Dust on cliff sensors (located on the underside) can cause the robot to behave erratically or stop at shadows. Wipe all sensors gently with a dry microfiber cloth every 2–3 weeks.
Reset the map. If the robot consistently gets stuck in the same spot despite no physical obstruction, delete the existing map in the app and let the robot remap the area. Corrupted maps can cause navigation errors.
If your robot vacuum is not picking up dust as effectively as before, the cause is almost always a blockage or a full dustbin.
Empty the dustbin. Sounds obvious, but it is the most overlooked fix. Empty the dustbin after every cleaning cycle, especially in Indian homes with high dust levels. A full bin severely reduces suction.
Clean the filter. The filter clogs over time, restricting airflow and reducing suction. Remove the filter and tap it gently to loosen dust. If it is washable, rinse it under running water and let it dry completely for 24 hours before reinserting. Never install a wet filter.
Check the brush roller. Hair and string wrap around the main brush roller, reducing its ability to agitate and pick up debris. Remove the roller and cut away tangled hair with scissors. Many modern brush rollers are designed to be tangle-resistant, but no design is completely immune.
Inspect the suction path. Open the dustbin compartment and check for blockages in the airway. Small objects like coins, beads, or hard food particles can lodge in the channel and restrict airflow. Use a long, thin object to gently dislodge any obstruction.
Check the side brushes. Worn or bent side brushes cannot flick debris into the suction path effectively. Replace side brushes every 6–12 months depending on usage.
Verify suction mode in the app. Some apps have multiple suction modes (Quiet, Standard, Turbo, Max). Ensure you are not running on a low setting accidentally. Cleaning mode preferences sometimes reset after app updates.
Battery degradation is a normal part of robot vacuum ownership. However, some battery issues have simple fixes before you consider replacement.
Allow a full calibration cycle. If you notice reduced runtime, run the robot until the battery is completely drained, then let it charge fully without interruption. This recalibrates the battery management system and can restore some lost capacity.
Check charging contacts. Dust or corrosion on the charging contacts (on the robot and the dock) prevents efficient charging. Clean both sets of contacts with a dry cloth or a cotton swab lightly moistened with isopropyl alcohol.
Verify dock placement. The charging dock should be against a wall on a hard, level surface with at least 1.5 metres of clear space on each side and 0.5 metres in front. If the robot has trouble docking, the battery may not charge fully between cycles.
Monitor ambient temperature. Lithium-ion batteries degrade faster in extreme heat. If your charging dock is in direct sunlight or a hot part of the home, move it to a cooler location. Battery performance drops noticeably above 40°C.
Replace the battery if needed. If runtime has dropped by more than 50% after 2–3 years, replacement is the only solution. Check your model’s battery replacement procedure — some use screwless snap-in designs, while others need partial disassembly. Replacement batteries cost ₹1,500–₹4,000.
Connectivity problems are frustrating but usually fixable without technical expertise.
Restart both devices. Turn off the robot vacuum and restart your Wi-Fi router. Wait 2 minutes, then power on the router first, followed by the robot. This resolves most temporary connection issues.
Check Wi-Fi band compatibility. Many robot vacuums only support 2.4 GHz Wi-Fi, not 5 GHz. If your router broadcasts both bands, ensure the robot connects to the 2.4 GHz network. Some routers let you create a separate IoT network for 2.4 GHz devices.
Update the app and firmware. Outdated app versions or robot firmware can cause connectivity problems. Check your app store for updates and the robot’s settings for firmware updates. Installing the latest version often resolves known bugs.
Re-register the device. In the app, remove the robot vacuum from your account and go through the initial setup process again. This clears any configuration errors. You will need to set up maps and schedules again.
Check router settings. Router features like MAC filtering, firewall rules, or device limits can block the robot vacuum. Temporarily disable these to test. If the robot connects after disabling, add an exception for its MAC address.
Consider network congestion. In Indian households with many connected devices, network congestion can cause intermittent disconnections. Try reducing the number of active devices during the robot’s cleaning schedule or upgrade your router if it is more than 4–5 years old.
Unusual sounds from a robot vacuum usually indicate a physical obstruction or worn parts.
Inspect the main brush. A grinding or clicking noise often means hair or string is wrapped tightly around the brush roller bearings. Remove the brush and clean thoroughly.
Check the wheels. The drive wheels collect hair and debris around their axles over time. Use a small screwdriver or tweezers to remove wrapped material. Spin the wheels manually to ensure free movement.
Look for foreign objects. Small items like pen caps, earrings, or pet toys can get lodged in the wheel wells or brush housing. Turn the robot over and inspect all openings.
Listen for fan noise. A whistling or strained sound from the fan indicates a partial blockage in the airflow path or a failing fan motor. If cleaning the filter and airway does not resolve it, the fan motor may need replacement.
Side brush scraping. If a side brush is bent or broken, it may scrape against the floor or the robot’s body. Replace the damaged brush.
Normal operating noise ranges from 55 dB (quiet mode) to 70 dB (max suction). If the sound is significantly louder or different in pitch from when the robot was new, investigate.
Hair tangling is the most persistent maintenance issue, especially in Indian households where long hair is common.
Choose the right brush design. Some models use rubber roller brushes instead of bristle brushes. Rubber rollers are significantly more resistant to hair tangling. If tangling is a recurring problem, consider a model with rubber brushes.
Clean the brush after every cycle. This takes 30–60 seconds. Remove the brush, slide off tangled hair, and reinstall. Doing this regularly prevents hair from working its way into the bearings, which can cause premature wear.
Use the included cleaning tool. Most robot vacuums come with a small multi-purpose tool that has a blade for cutting hair and a brush for cleaning filters. Keep this tool accessible and use it.
Check the side brushes. Side brushes also tangle with hair, though less severely. Inspect and clean them every few cycles. Replace when bristles become bent or broken.
Consider a haircut for your brush. Some users find that cutting a few bristles off the side brush reduces tangling without affecting cleaning performance significantly. This is a hack, not a recommended practice from manufacturers, but it works in some cases.
If your robot’s mopping function is leaving streaks or not cleaning effectively, the issue is usually with the cloth or water delivery system.
Change or wash the mop cloth. A dirty mop cloth spreads dirty water instead of cleaning. Wash the cloth after every mopping cycle. Replace disposable cloths regularly and washable cloths every 2–3 months as they wear out.
Check water flow. Gravity-fed mopping systems drip water continuously. If water is not reaching the cloth, check that the water tank is properly inserted and the cap is sealed. For electric pump systems, verify the pump is not blocked by mineral deposits — use distilled or filtered water to prevent scale buildup.
Adjust water flow settings. In the app, check the water flow level. Different surfaces need different amounts of water. Use lower flow on marble and hardwood to avoid streaks, and higher flow on tiles.
Avoid mopping heavily soiled areas. Robot mops are designed for maintenance mopping. For kitchens with oil or dried spills, manual cleaning is necessary. Run the robot mop daily to maintain cleanliness rather than letting dirt accumulate.
While error codes vary by brand, these are common across most models.
Error 1 or Error 2 (Wheel stuck): One or both drive wheels are jammed. Clean debris from the wheel housings and ensure the wheels spin freely.
Error 3 or Error 4 (Sensor error): A cliff sensor or wall sensor is dirty or obstructed. Clean all sensors gently with a dry cloth.
Error 5 (Brush error): The main brush is stuck or not spinning. Remove the brush, clean it, and ensure it clicks into place properly.
Error 6 (Side brush error): Similar to Error 5 but for the side brush. Replace if bent or broken.
Error 7 (Fan motor error): Suction fan not working. Check for blockages in the airway. If the error persists, the fan motor may need professional service.
Error 8 or Error 9 (Battery error): Battery is not charging or has a communication fault. Try the charging calibration steps mentioned earlier. If the error persists, the battery needs replacement.
Error 10 or Error 11 (Wi-Fi/Module error): The robot cannot connect to the network. Restart robot and router, then try re-registering the device.
Error 12 (Laser distance sensor error): The LiDAR module on top is obstructed or has a mechanical fault. Ensure the LiDAR turret can rotate freely. If not, contact support as it requires repair.
Always check your specific model’s user manual for exact error code meanings. Most brands also list error codes in the app with suggested fixes.
Not every problem needs professional help. Here is a guide.
DIY-friendly issues: Stuck robot, full dustbin, dirty filter, hair on brushes, Wi-Fi disconnection, minor navigation errors, dirty sensors, and basic error codes that clear after cleaning.
Support needed: Persistent error codes that do not clear after troubleshooting, fan motor failure, LiDAR motor failure, mainboard issues, battery not recognized after replacement, physical damage from drops or water, and issues within the warranty period.
Before contacting support, try all relevant DIY fixes. Many brands will ask you to go through basic troubleshooting anyway. When you do contact support, have your model number, purchase date, and a description of steps already tried ready.
Warranty note: Most robot vacuums come with a 1-year warranty in India. Some brands offer extended warranties for an additional cost. Opening the robot yourself may void the warranty, so avoid disassembling beyond what the user manual permits during the warranty period.
Service centres in India: Major brands like Xiaomi, Dreame, and Eureka Forbes have service networks in metro cities and tier-2 cities. Check service centre availability in your area before purchasing. For smaller brands, support may be limited to courier-based repairs.
If you are yet to buy a robot vacuum and are concerned about problems, choose a model with these characteristics:
Good brand support. Pick a brand with a known service presence in India. Xiaomi, Dreame, Eureka Forbes, and iRobot have established service networks. Avoid obscure brands with no local support.
Rubber brush roller. Rubber rollers tangle less with hair. If you have long hair or pets, prioritise models with rubber or tangle-resistant brush designs.
LiDAR navigation. LiDAR-based models navigate more reliably than gyroscope-based models and get stuck less often. They also provide accurate mapping for no-go zones.
Replacement parts availability. Check that filters, brushes, and batteries for the model are readily available on Amazon or Flipkart. Some models have proprietary parts that are hard to find.
Read Indian reviews. Look for reviews from Indian buyers specifically. Reviews mentioning “Indian conditions”, “Indian homes”, or “India dust” give the most relevant insights for your use case.
Check Price on Amazon for models like the Dreame D10 Plus Gen 2 that match your requirements and compare current deals across brands.
Skipping the user manual. Many issues are addressed in the manual’s troubleshooting section. Refer to it before attempting any fix.
Using water on electronics. Do not use water or cleaning sprays directly on the robot. Use a slightly damp cloth for the exterior and dry cloth for sensors and contacts.
Ignoring scheduled maintenance. Most problems are prevented by regular cleaning of filters, brushes, and sensors. Set a reminder every 2 weeks for basic maintenance.
Over-tightening screws. If you disassemble any part, do not over-tighten screws when reassembling. Plastic threads strip easily.
Assuming the worst. A sudden problem is more likely to be a simple blockage than a hardware failure. Work through easy fixes first before concluding the robot is broken.
There is likely a physical obstruction, a low-clearance piece of furniture, or a corrupted map in that area. Check for cables or objects, measure clearance height, and consider deleting and remapping if the issue persists.
In Indian conditions, clean the filter every 1–2 weeks. Washable filters should be rinsed every 2–4 weeks and replaced every 3–6 months. Non-washable filters should be replaced every 2–3 months.
Check the charging contacts on both the robot and dock for dirt or corrosion. Ensure the dock is plugged in and the power outlet is working. Try manually placing the robot on the dock to rule out docking issues.
Battery capacity drops to about 70% after 2–3 years of regular use. Replacement is typically needed around the 3-year mark, depending on usage frequency and charging habits.
Stop the robot and inspect the main brush and wheels for tightly wrapped hair or string. The screech is usually caused by debris caught around a rotating part. Clean thoroughly and test again.
Yes. Daily use is recommended for maintaining clean floors, especially in high-dust Indian environments. Just ensure you empty the dustbin and clean the filter regularly.
Check for a full dustbin, clogged filter, or tangled brush. If all are clear, the suction mode may be set too low. Increase suction in the app for better pickup on subsequent runs.
Most models have a reset button or a combination of buttons to press (check the manual). A factory reset erases maps and settings, so use it as a last resort after other troubleshooting fails.
Some bumping is normal for models without advanced object avoidance. LiDAR-based models navigate with minimal bumping. If bumping is excessive, the bumper sensors may be dirty.
Turn the robot over. The cliff sensors are small round or rectangular openings on the underside. Wipe them gently with a dry microfiber cloth. Do not use liquids as they can seep into the sensor housing.
With regular maintenance, 3–5 years. Premium models with better build quality and replaceable batteries tend to last longer. Entry-level models with sealed batteries may have a shorter lifespan since the battery cannot be replaced easily.
If the brand offers an extended warranty at a reasonable cost (₹1,000–₹2,000 for an additional year), it can be worthwhile, especially for premium models. For budget models, the extended warranty cost may not justify the purchase price.
As an Amazon Associate I earn from qualifying purchases. If you make a purchase through these links, I may earn a small commission at no additional cost to you. Our recommendations are based on research and practical assessment, not on affiliate partnerships.
Affiliate Disclosure: As an Amazon Associate I earn from qualifying purchases. If you click on a link and make a purchase, I may earn a small commission at no extra cost to you.
Check the latest prices and reviews on Amazon India.
Best Value Robot Vacuum with 6000Pa Suction
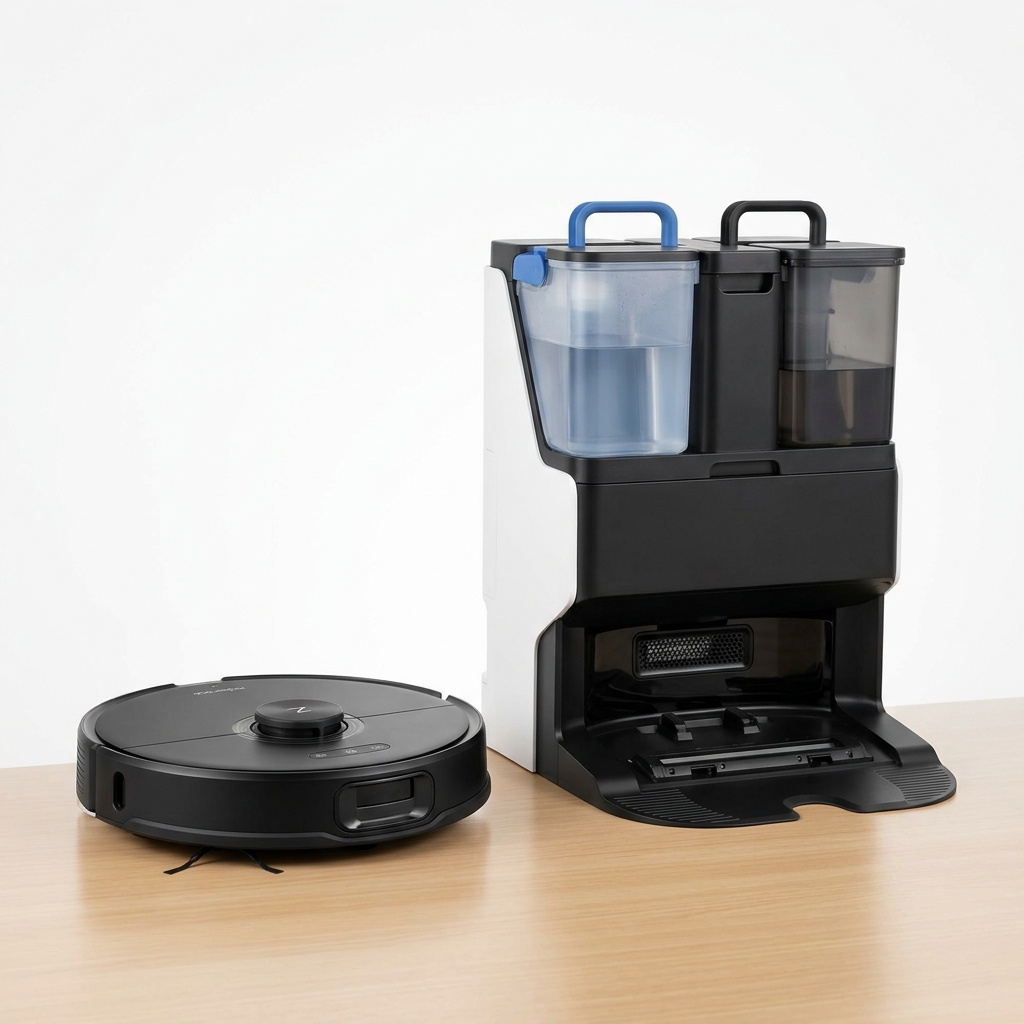
Premium Robot Vacuum with Auto Mop Washing Dock
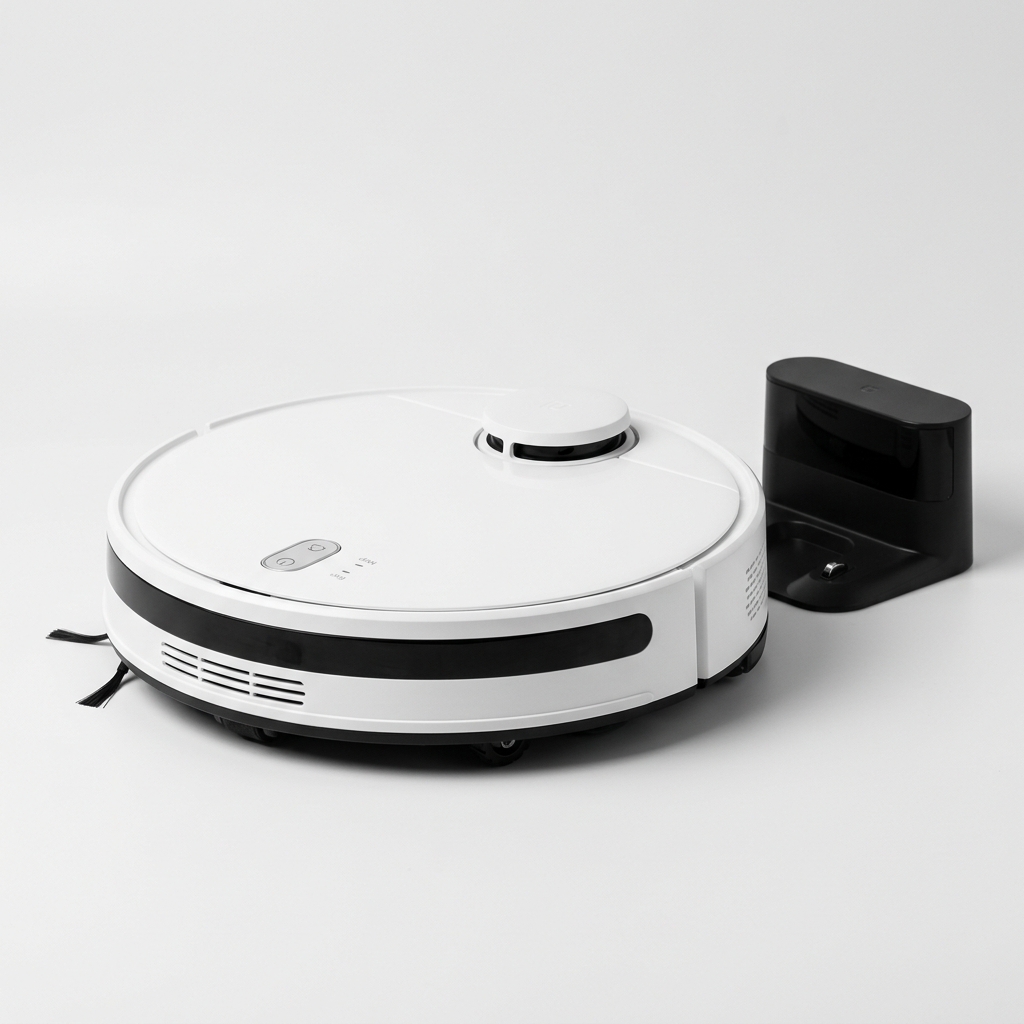
Affordable Robot Vacuum with 5200mAh Battery & LDS Navigation
Our comprehensive guide to the best robot vacuum cleaners available in India in 2026. Expert picks for every budget.
Buying GuidePractical framework for choosing a robot vacuum in India: floor types, home size, budget, must-have features, navigation, and maintenance.
GuideLearn how LiDAR navigation works in robot vacuums, its advantages over camera and gyroscope systems, and why it matters for Indian homes.
Compare top-rated models side by side and pick the best one for your home and budget.